04. Delete Project
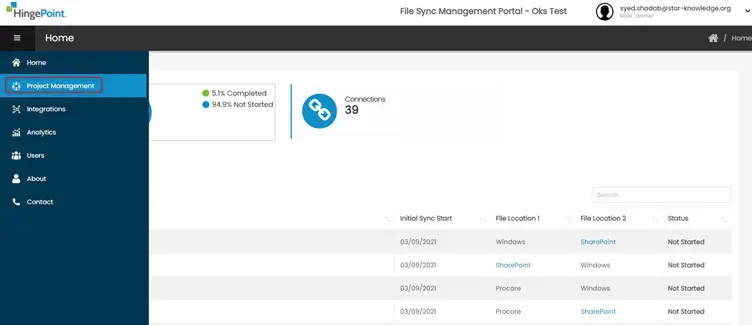
Step 1: Click on the Home icon from the left navigation bar to navigate to Dashboard page. Step 2: Click on the Delete link in the projects list that needs to be deleted. Step 3: If the Project is in Started or Active status, the user will not be able to delete the Project. Step 4: […]
03. Edit Project
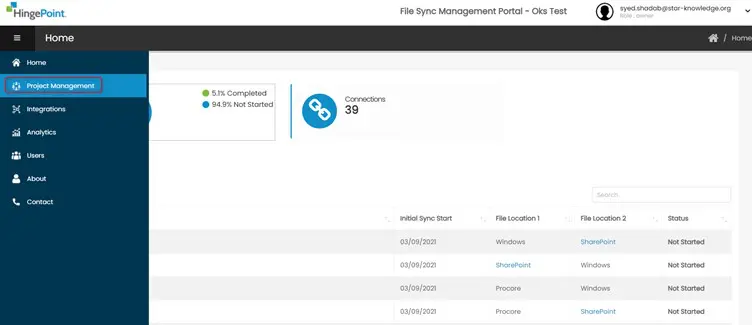

Step 1: Click on the Home icon from the left navigation bar to navigate to Dashboard page. Step 2: User will only be able to edit the Connection with Not Started Status. Connections with Started and Active status cannot be edited. Step 3: In the project details page click on the Edit button. Step 4: Update […]
02. View Project
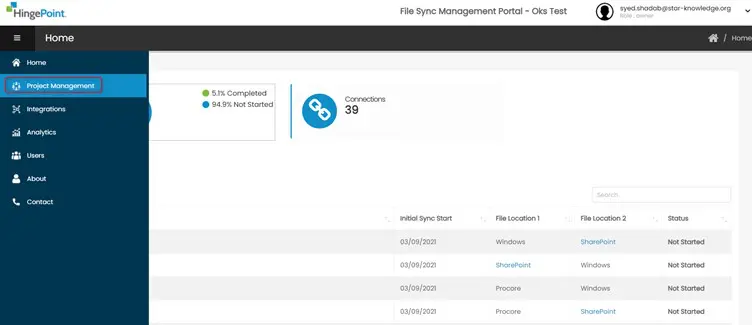

Step 1: Click on the Home icon from the left navigation bar to navigate to Dashboard page. Step 2: Click on the Project Name to view the Project details. Step 3: In the Project details page, the Sync Status Field indicates the statuses of the connection. Started: Turns Green when the user clicks on […]
01. Create Project
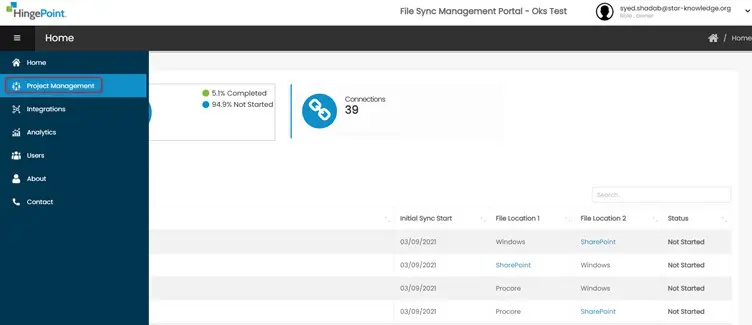
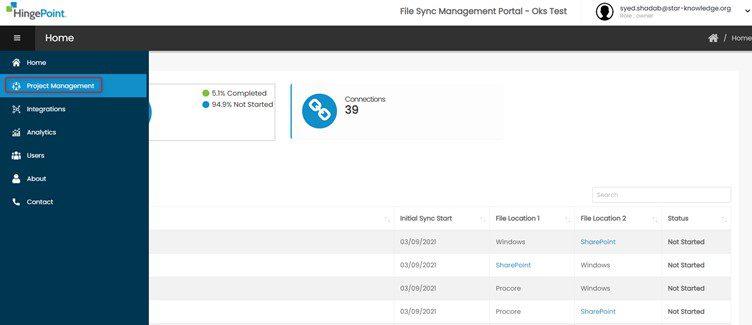
Step 1: Click on the Home icon from the left navigation bar to navigate to Dashboard page. Step 2: In the Connections page, click on Create New button. Step 3: Project Create Screen is displayed. Step 4: Enter the Project Name. Select SharePoint and Procore integration from the dropdown in File Location 1 and File Location […]
04. Delete Integration
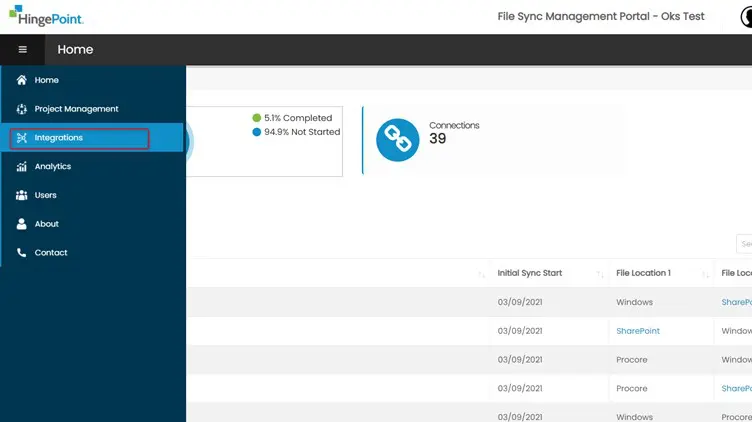
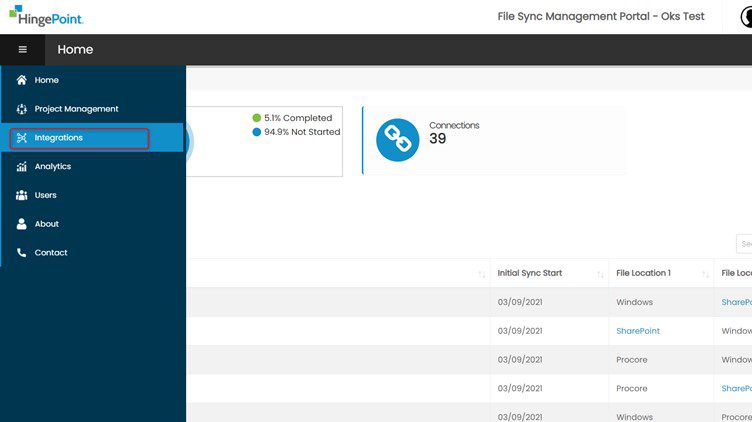
Step 1: Click on Integrations from the left navigation menu Step 2: Click on the delete link in the integration table for the integration that needs to be deleted. Step 3: If the integration is associated with a project, a validation message “Please delete the projects associated with the integration in order to delete the integration” […]
03. Edit Integration
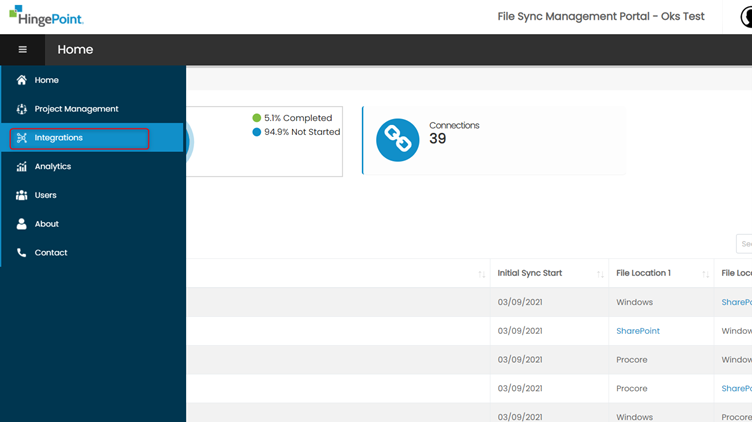

Step 1: Click on Integrations from the left navigation menu Step 2: Click on the edit link of the Integration that needs to be edited Step 3: SharePoint Integration If the Integration is associated with a Connection, user will be able to update only the Client Secret field Click on Save to save the […]
02. View Integration
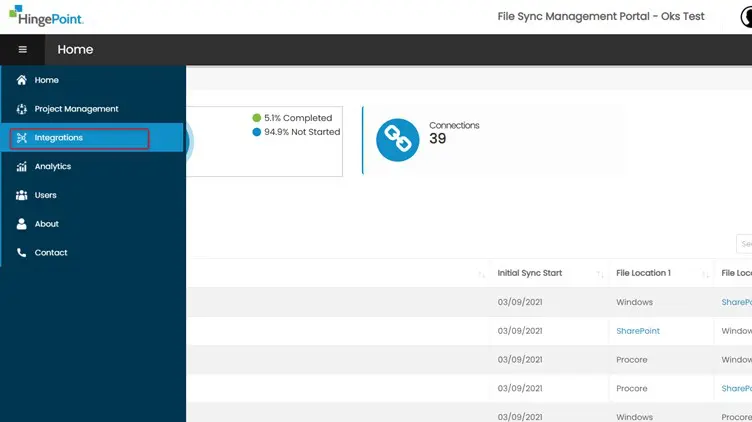

Step 1: Click on Integrations from the left navigation menu Step 2: Click on the Integration Name which you would like to view Step 3: The Integration View Screen is displayed.
01. Create Integration
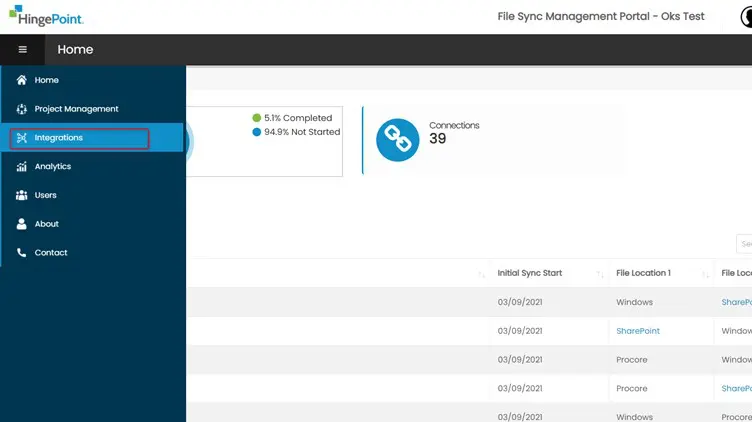
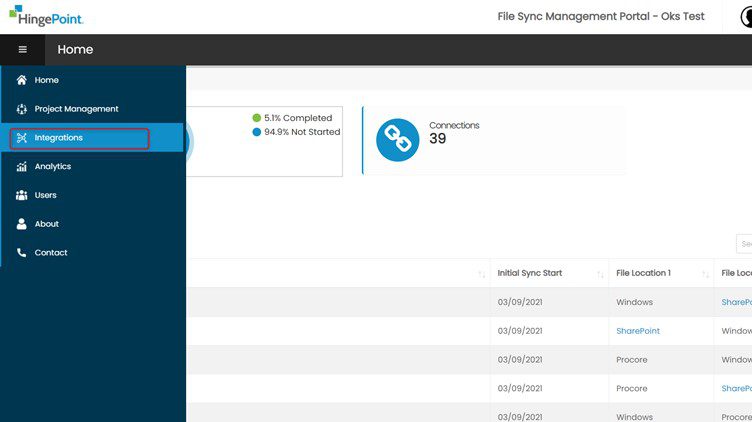
Step 1: Click on integration from the left navigation bar. Step 2: Click on Create New button. Step 3: There are 2 options to choose under “System Type” dropdown SharePoint: The user needs to enter the SharePoint web URL, SharePoint Client Key and SharePoint Client Secret and click on Save button. Procore: The user […]
06. Create SharePoint Credentials
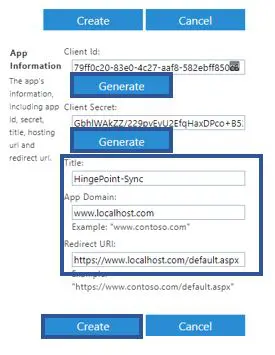

HingePoint Sync service uses SharePoint App-Only for event receivers activation and sync content from different systems (Windows and Procore) to SharePoint. The article below described how to create and assign permissions for SharePoint App-Only. Note: The user must have the Global Administrator role in the O365 (M365) tenant to complete all steps from this […]
01. Support
Everything you need to know how to use the Management Portal. Click to review and download our User Manuals for Procore, Sharepoint File Sync, and MS Teams file Sync.


