05. Create/Migrate Procore Credentials with Developer Managed Service Accounts
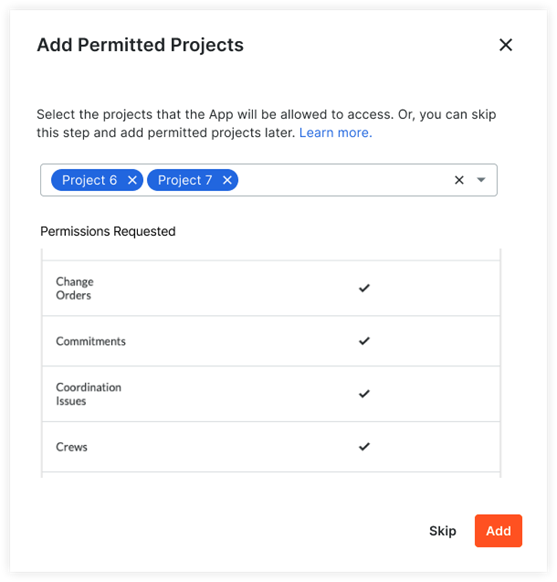
Building a Data Connection App with DMSA Click here for demo video Create a New App Open your browser and navigate to the Procore Developer Portal page (https://developers.procore.com). Click ‘Sign In’ to log in to your Developer Portal account. Click on ‘My Apps’ and click on ‘Create a New App’ In the Create New […]
03. Procore – SharePoint Check In & Check Out Test Cases
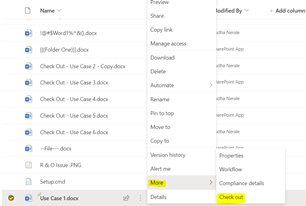
1. Use Case: Check Out a file in SharePoint and edit the same file in Procore SharePoint and Procore Full sync is complete and the Project is in Active status Create a Word document in SharePoint ==> name it “Use Case 1” OR upload a new Word document with file name “Use Case 1” […]
09. Project Details & Stats
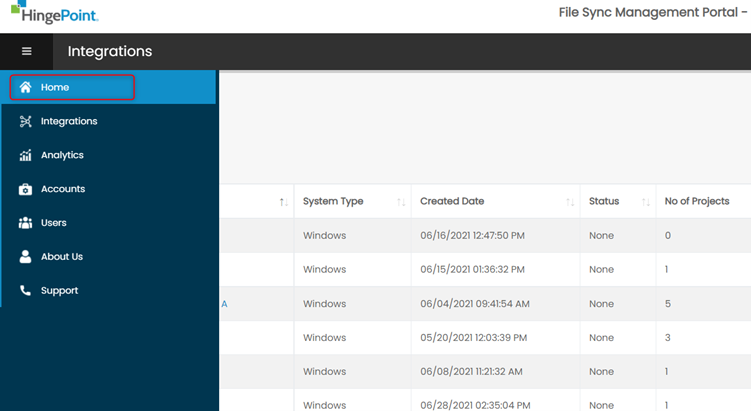
Step 1: Click on the Home icon from the left navigation bar to navigate to Dashboard page. Step 2: Click on the Project Name whose status is Active to view the Project Details and Stats. Step 3: The Project Details screen displays the Sync Start, Sync In-Progress, Sync Complete date and time along with Procore Project/Folder and […]
08. Connection Status on Dashboard
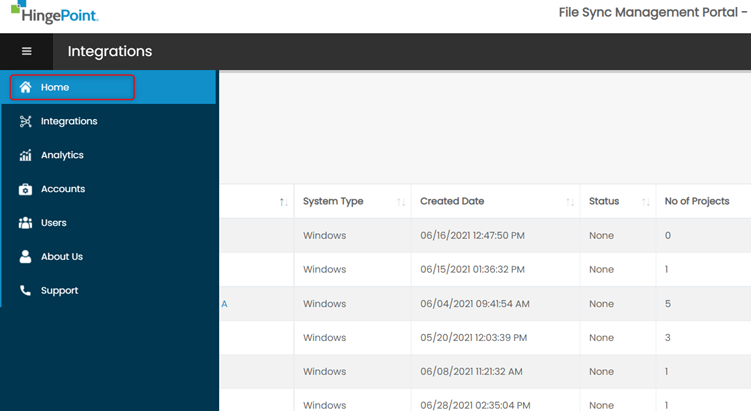
Step 1: Click on the Home icon from the left navigation bar to navigate to Dashboard page. Step 2: Status of the Connections in the Homepage. Not Started Status: The newly created Connection for which the sync has not yet started. The # of Files in Location 1 and 2 will be ‘0’. ‘Initial Sync Start’ […]
02. Procore – SharePoint Test Cases

Examples of testing Uploading file to Procore: Uploading folder to Procore: Removing file from Procore: Removing folder from Procore: Uploading file to SharePoint: Uploading folder to SharePoint: Removing of files from SharePoint: Removing of folders from SharePoint: Renaming file in Procore: Renaming folder in Procore: Renaming file in SharePoint: Renaming […]
07. Sync Status
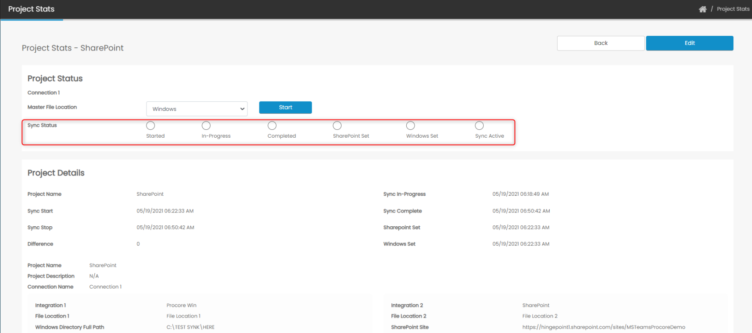
Step 1: Click on the Home icon from the left navigation bar to navigate to Dashboard page. Step 2: Click on the Project Name to navigate to project details page. Step 3: Select the endpoint for which you want to activate the sync and click on Start. Before starting the sync, all the sync statuses will […]
09. How to get expiration period for SharePoint Credentials
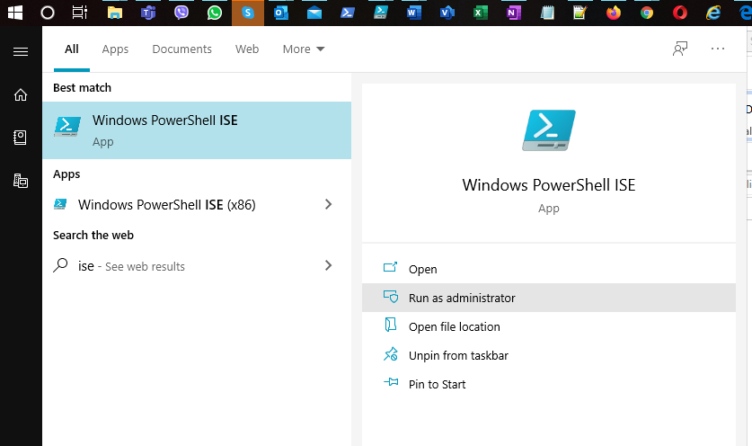
Step 1: Open PowerShell ISE as administrator in the local computer: Step 2: Put the script from below and press F5: Note: Please paste your current SharePoint Client ID to the script ($ClientID). You can copy SharePoint Client ID from any SharePoint integration on the HingePoint Sync management portal. if (!(Get-Module AzureAD)) { try { […]
03. View a User
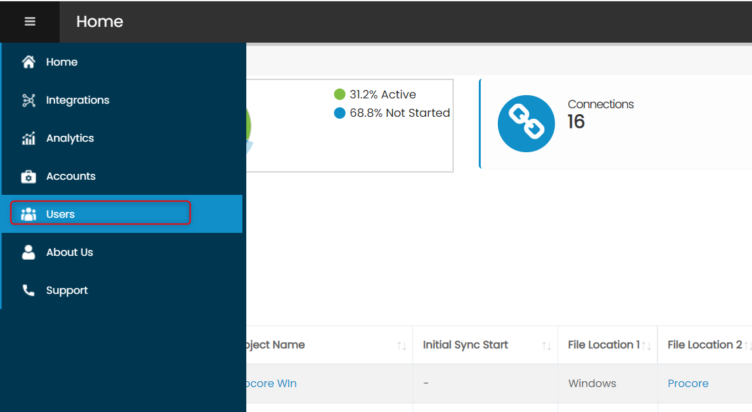
Step 1: From the Dashboard page, navigate to “Users” from the left navigation menu. Step 2: Click on the name of the User you want to view. Step 3: View User page will be displayed with all the user details
06. Deactivate a Sync
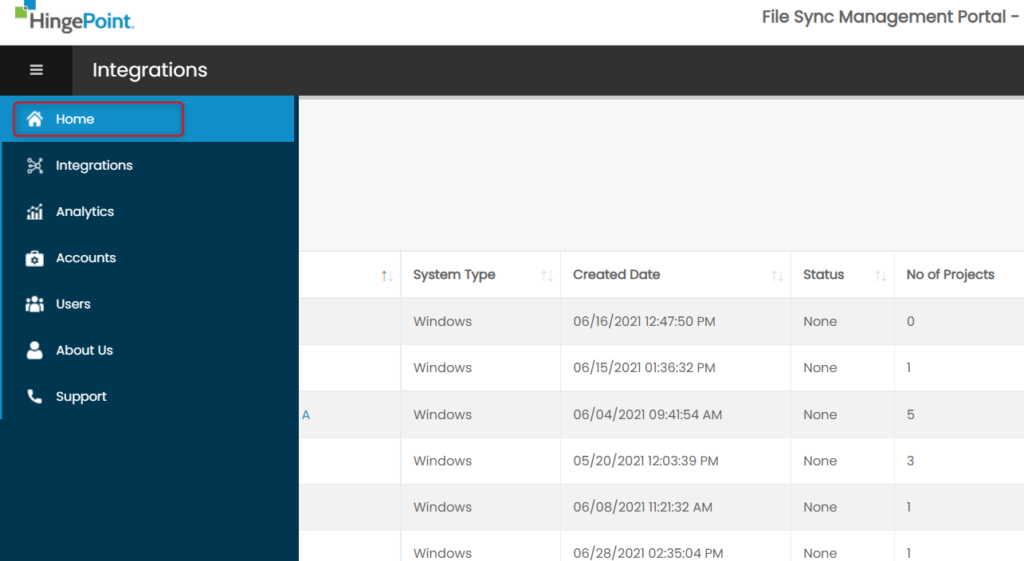
Step 1: Click on the Home icon from the left navigation bar to navigate to Dashboard page. Step 2: Click on the Project Name of an Active Connection you want to deactivate the sync. Step 3: In the Project details page, click on the Stop button to stop the sync of an Active connection
05. Activate a Sync
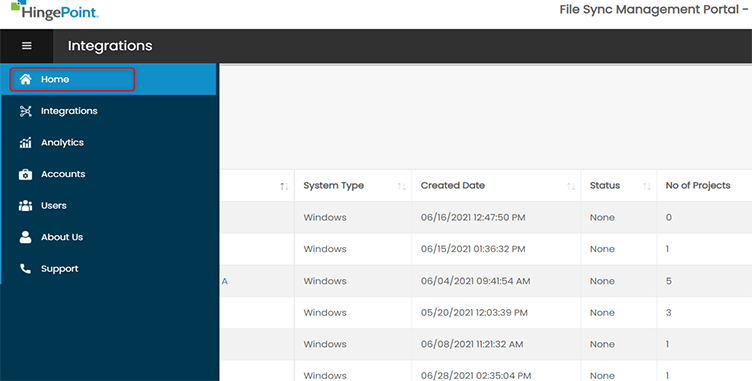
Step 1: Click on the Home icon from the left navigation bar to navigate to Dashboard page. Step 2: Click on the Project Name you want to activate the initial sync. Step 3: In the Project details page, select the endpoint for which you want to activate the sync and click on Start button. The initial sync […]


